Everything you need to know to become an arepa making machine.
Being an arepa master is something that will come with time and practice – but once the technique has been learned, so many culinary possibilities will be at your fingertips. Mastering the arepa has gone on for generations in Colombia and Venezuela and each family or person can develop their own secret method to produce the right dough consistency, form and taste. I did not get the experience of having my mother or grandmother make arepas early in the morning hundreds of times. I had to learn the hard way – and quite honestly, there is not a lot of technique out there for mastering the arepa.
Buy Today on Amazon!: Mastering The Arepa
Lets go back in history just a little bit. Back in the day, arepas were not made from precooked bagged corn meal. The corn meal was made by hand, starting from picking and growing the corn, shucking and grinding it. Today, we have the luxury of buying precooked corn meal (P.A.N) or other brand names to give us a nice jumpstart with great taste and texture.
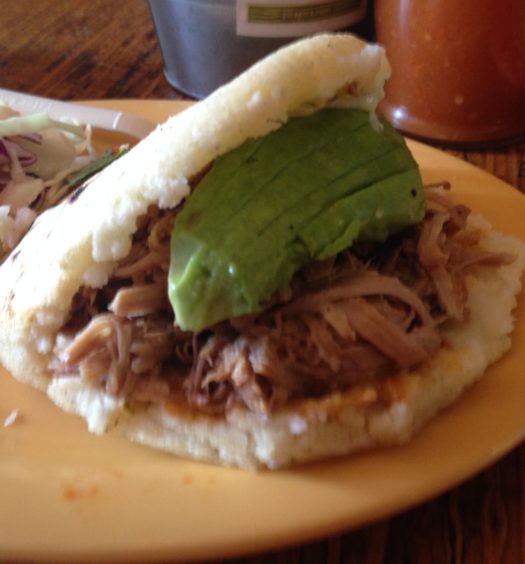
Before we begin, lets talk about what we want to achieve. Depending on the style of arepa you would like to make, either Colombian or Venezuelan, it will alter your form and shape a little bit. For instance in Colombia, the arepas are a little wider and shorter. In Venezuela the arepas are a bit taller and less wide allowing you to fill it with meat and vegetables.
Either way, you want the perfect dough consistency, not to moist, not to dry. Not to thick so it cooks through and perfectly round. This is the tricky part. There are a few techniques out there which we will cover later.
The next biggest decision you will need to make is if you want to make arepas with water or milk. I have personally used water dozens of times, but have moved on to milk because to me, it makes the dough more moist when cooking and does not dry out as fast. There are some real die hard water fans and some die hard milk fans. Through my research I tend to see water being favored most likely because that how it was done in the past. If you are lactose intolerant, using water would be the way to go.
There is one more decision to make. Did you want cheese in that? I prefer one thousand times cheese when I make arepas. Mixed in with the dough, and inside it. It is an experience like no other. Once becoming a master, you can make arepas (~10 of them) in 30 minutes from start to finish.
Begin by gathering your ingredients. You will need some P.A.N pre-cooked white corn meal or other brand, salt, butter, cheese and water or milk. Time to make arepas!
How to make Arepas
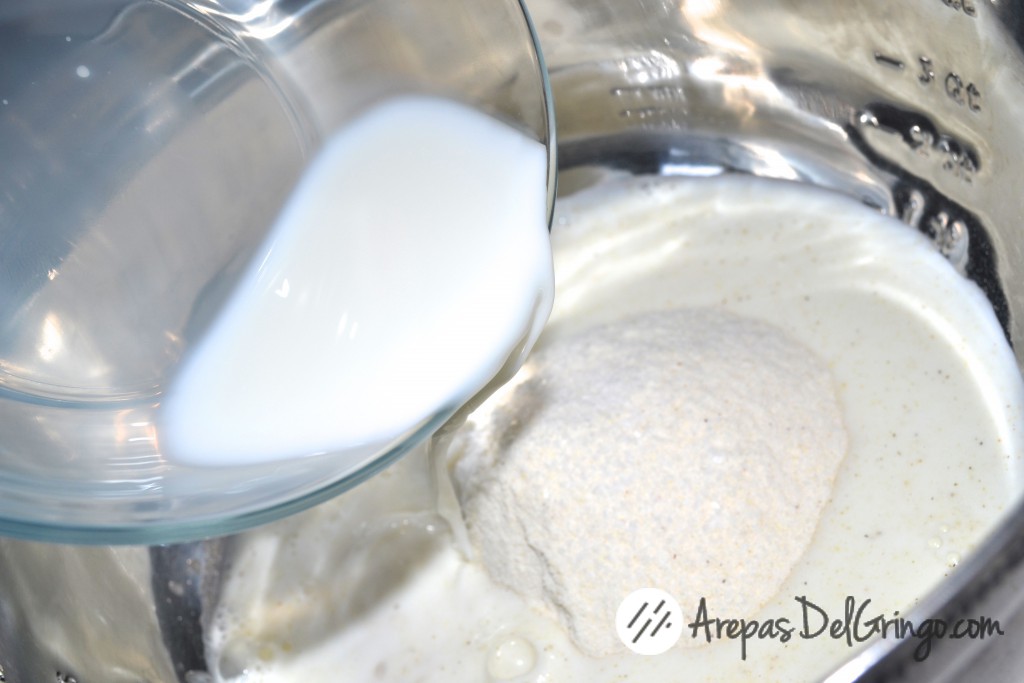
Pour the corn meal (2 cups), the water (2.5 cups) or milk and cheese (~1.5 cups) into a bowl and mix by hand, making sure to get out all the lumps. It will be hard to tell since there are chunks of cheese in there but a technique i have learned is to squeeze a bit in your palm and let is slide through your fingers. Repeat until all lumps are out. By this time, you may need to add a little more liquid to the dough. It dries out fast. Always add less than you think you will need, you can always add more.
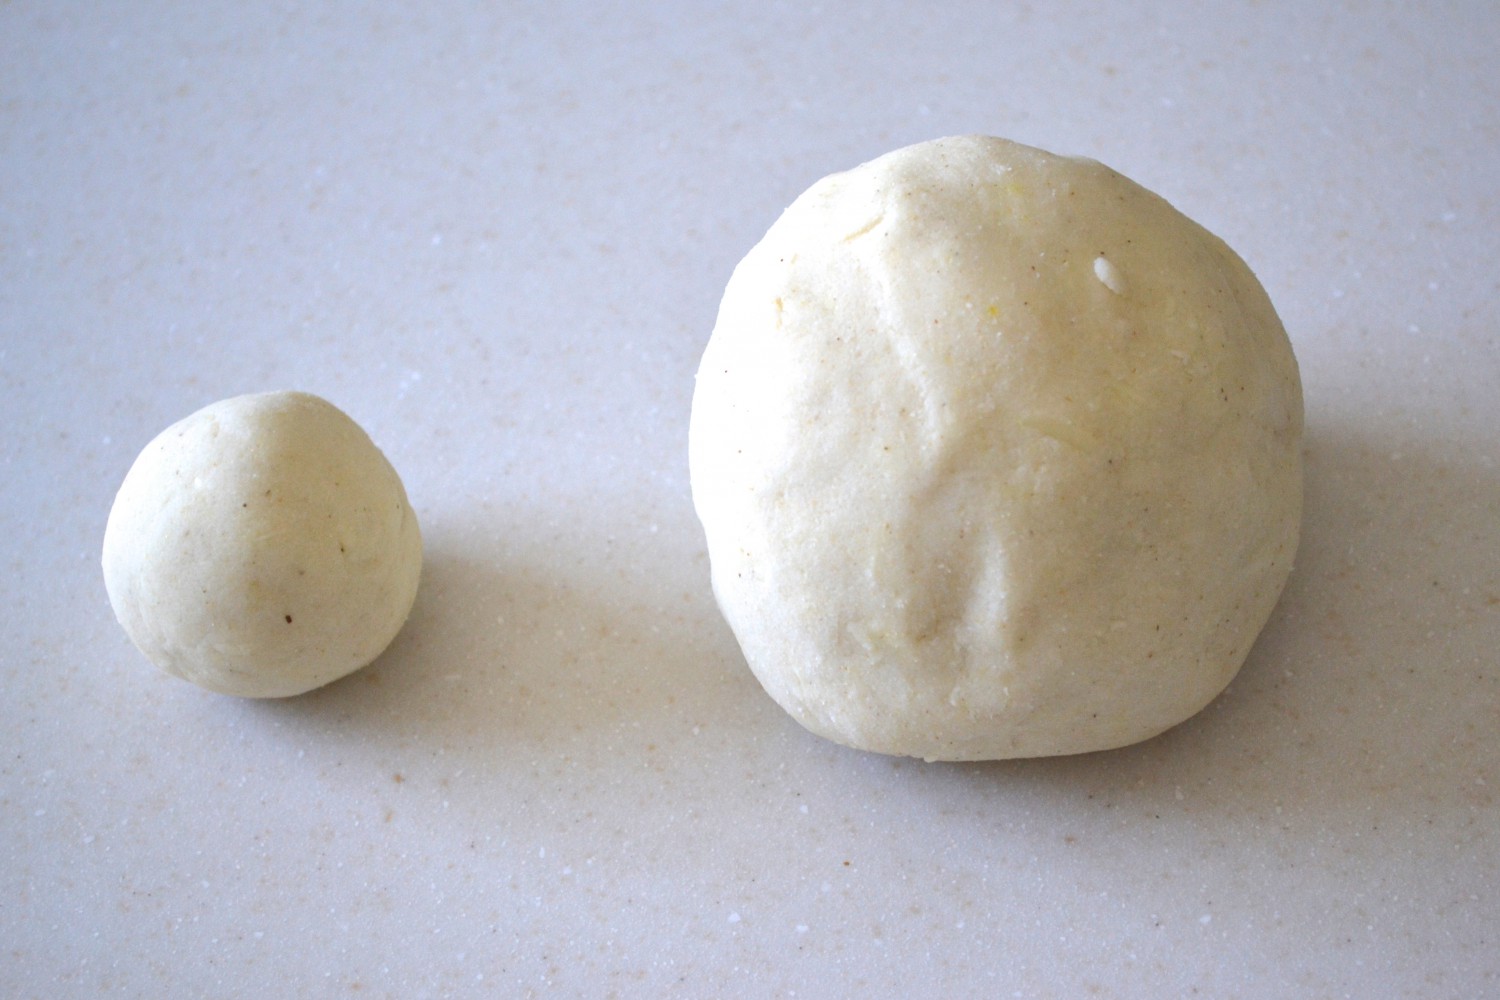
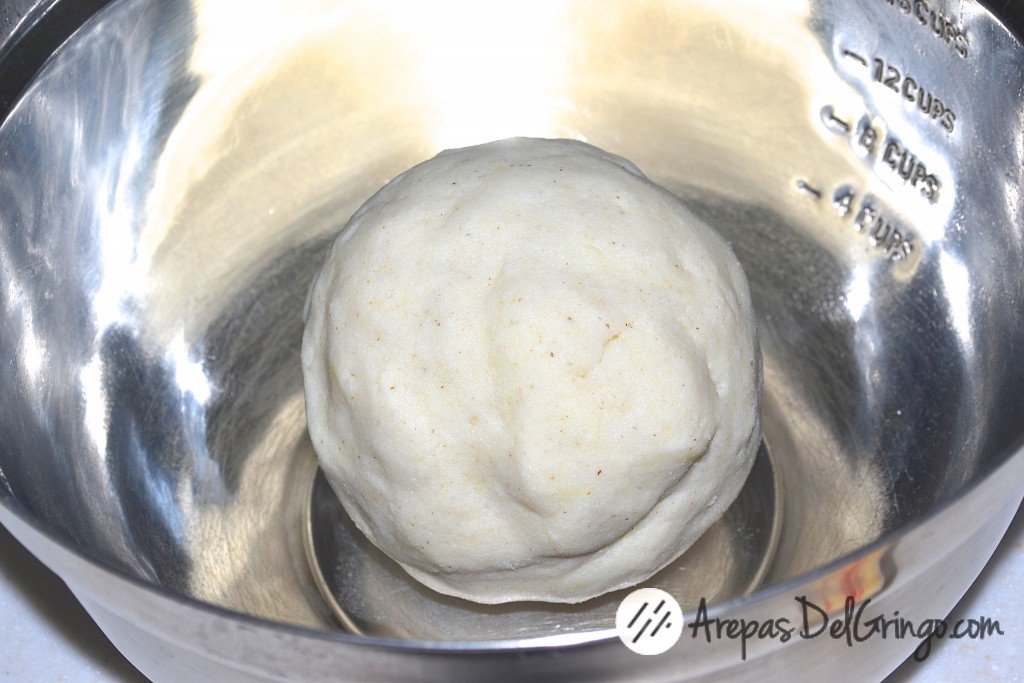
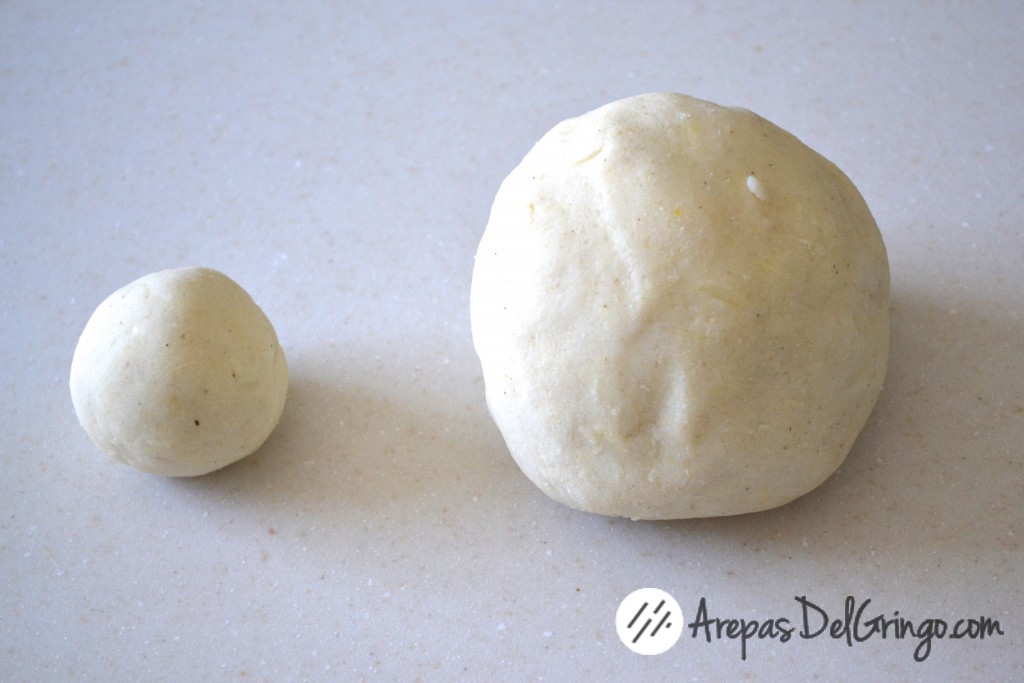
Start to mold this dough into a large round ball. Once you can pick up the ball without it falling apart, you know you have a good consistency. It should be about the consistency of Play-doh.
Next, break off a chunk about the size of a large meatball, and roll it into a ball within the palms of your hands. This will be our first arepa. Once you get to this point, speed is key to this being a success.
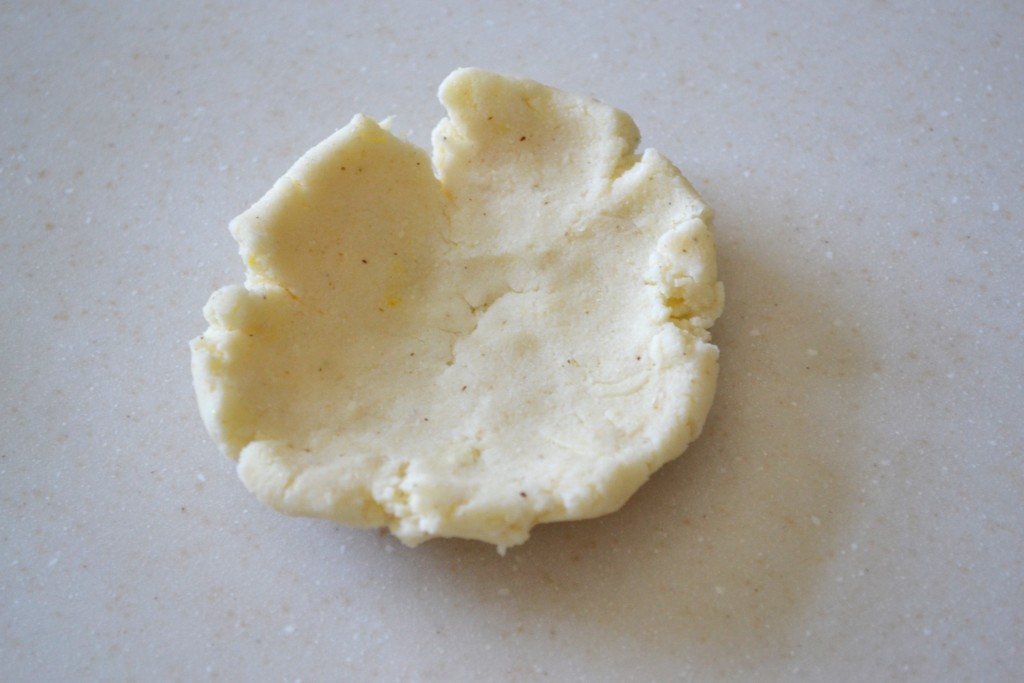
Take the small ball of dough and make a thumbprint in it and flatten it out into a small bowl. If you take your two hand and connect your index fingers and thumbs making a circle, it should not be bigger than this. We need to make a perfect little bowl to contain all our delicious cheese.
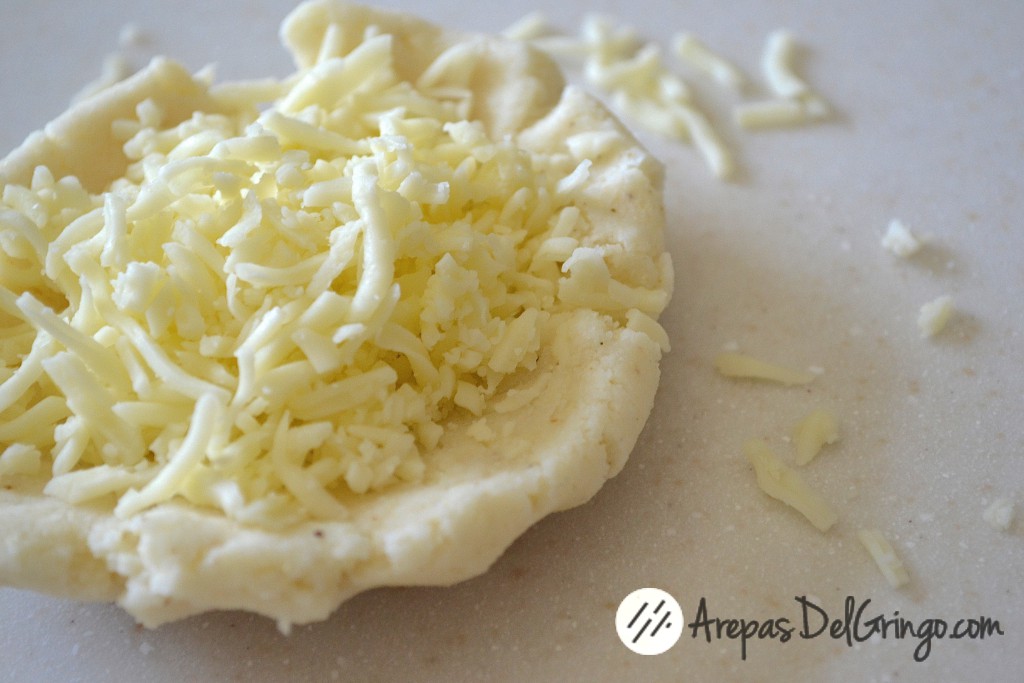
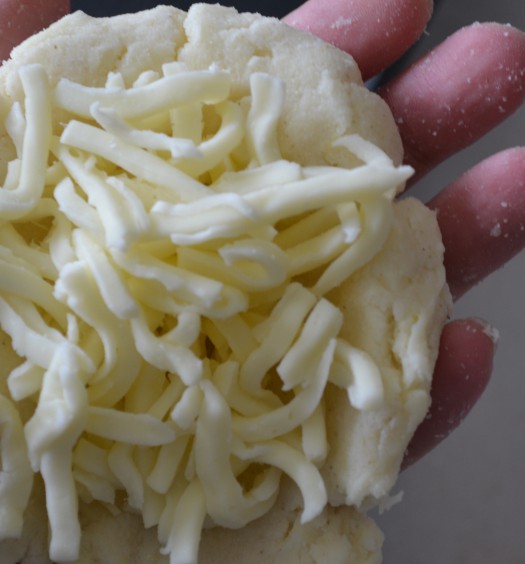
Next, take a hand full of Mozzarella cheese and place it delicately inside our handmade corn bowl. Don’t be shy, you can always take some out but it is better to have more than less.
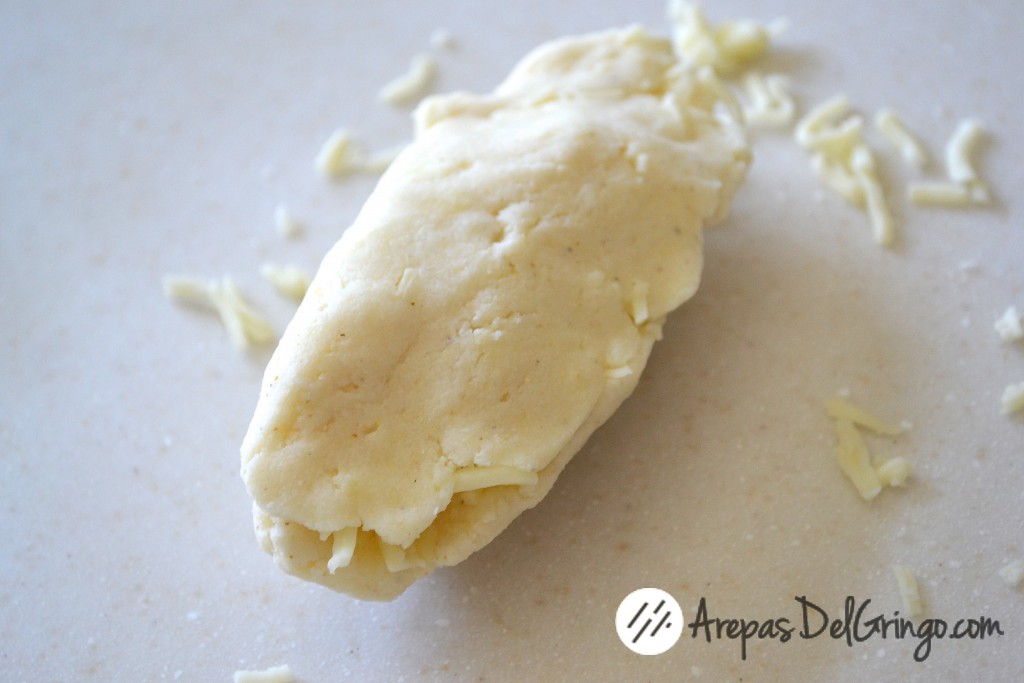
Next, fold over one side pinching it shut, making what I call an Arepanada or an empanada style shape. If you need to dip your fingers in some water or milk and seal up the edges. Don’t worry, if cheese is poking through right now, push it back in or clamp it closed. Its OK.
The trickiest of trickiest parts is upon us. The perfect size and shape. Start to rotate the Arepanada in your hand about one inch at a time, sealing the edges and flattening it out. This will take practice. Run your finger along the edges – make a hook with your index finger and press it around the sides of the arepa making it round. Place it in the palm of one hand and throw it into the palm of your other hand. Catching it in your palm. Repeat the quickly for about five or six times.
Time to multi-task! Turn up your grill/griddle (I prefer a pancake or breakfast griddle) to 290. The key to making arepas is not by making one look good. Its by making a dozen look good and fast – you have a family of hungry people waiting for their delicious meal. You need to focus, you need to own this, You need to become an arepa making machine.
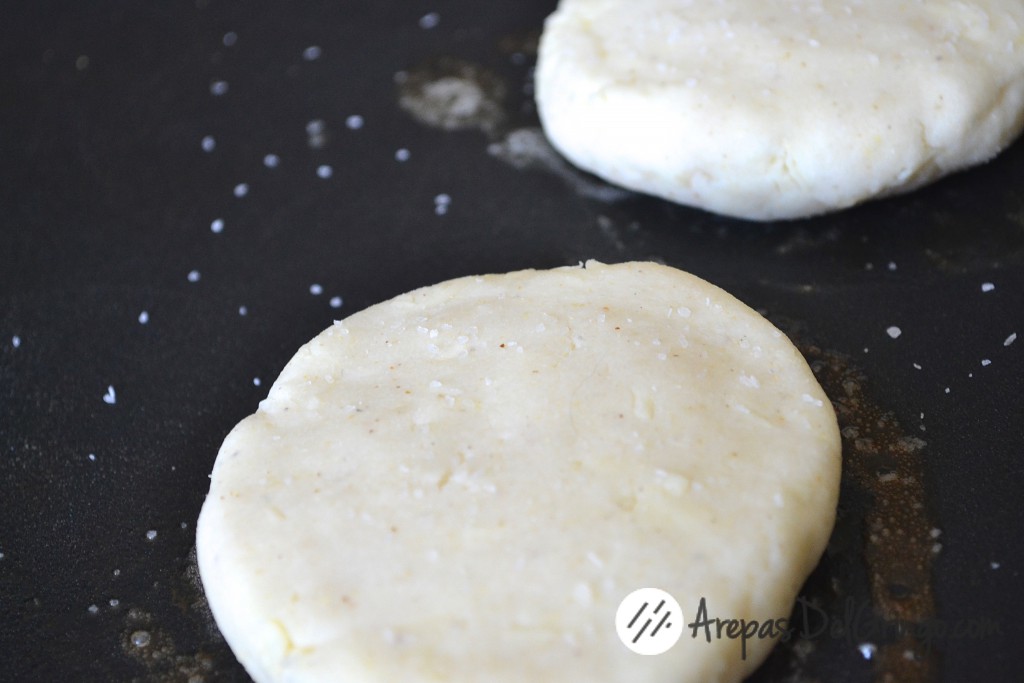
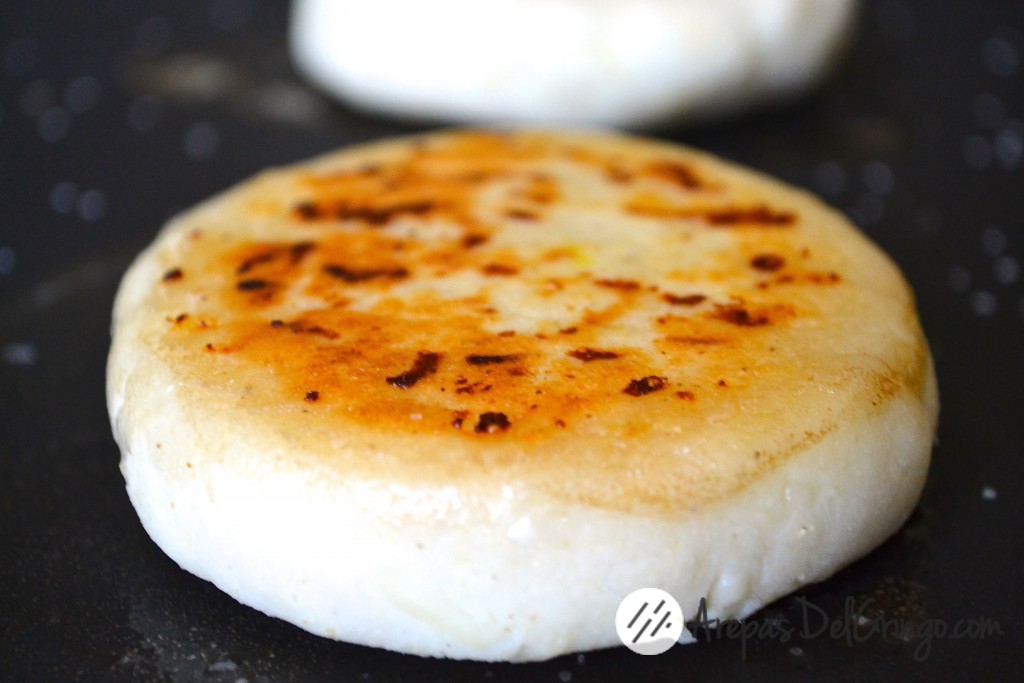
By now your grill should be at 290 degrees. Take a salted butter stick and draw a circle of butter for your beautiful arepa, not just an outline of a circle, fill it in. The butter should be sizzling but not burning. If it starts to burn or sizzle out of control, its to hot for us. Place the arepa on the griddle and sprinkle with a little coarse salt. Flip occasionally. We want to see a nice golden crust – the dark spots are the cheese. Over cooking can happen fast, but the secret signal to determine if an arepa is almost done cooking is when the cheese starts to ooze out of the sides like a slow waterfall. This process should take about 12-14 minutes. Lower the heat or raise it as necessary.
Place on a plate and serve hot. A well cooked arepa when opened will make beautiful cheese strings connecting from both sides. Serve with some Colombian hot chocolate and enjoy!
Please try to make arepas. They are delicious and now you will know how. If you have any questions, please write to me in to comments or send me a message on the official ArepasDelGringo Facebook page.
You might also like:








February 11, 2015
Great post! Hello from Colombia!
February 11, 2015
Hello! Thanks for the comment Denise.
February 13, 2015
Do you have any video of that? I’d love to find out more details.|
February 13, 2015
Indeed I do! I am working on a shorter version https://www.youtube.com/watch?v=rditAkBK2G8
March 2, 2016
LONG COMMENT!Cheers Chef John, im a huge fan in Venezuela and you made it to perfection! P.A.N stnads for Producto Alimenticio Nacional, that means National Alimentary Product, it was the First Corn Meal to be manufactured and sold in supermarkets in my country (ironically with these political Issues is easier to Find P.A.N in the USA than in my own country)However, a little recomendation for your Arepa recipe, do not fry it (to fry it is also valid) but to grill it, is HOW its supposed to be, you can use the same frying pan, but instead of pouring oil, spread a little with a paper towel, to moist the pan, and thast’s it. UNFORTUNATELY this method takes twice as long as the frying method, but this is the original, and according to the pictures on your blog, you Ate the Grilled ones on Caracas Arepa Bar, those Black Burns are like a SIGNATURE on arepas, trust me, those black spots give the arepa an extra sour flavor that turns it one of the best meal in the worldand as general culture! you may like these “Rellenos”(stuffing) and the names of some arepas according the stuffing.Viuda (Widow): an Empty ArepaPelua(hairy): Shredded Meat with Gouda CheeseCatira(Blondie): Shredded Chicken with Gouda CheeseDomino: Salty White Cheese with Black BeansMusiua: its a burger but with arepa instead of breadPabellon: same as Domino but with fried plantainPerico (parrot): scrambled eggs with chopped tomatoes and onion with some salt.Rumbera (Party Girl): Pork with Gouda CheeseCazon (Baby Shark): its Cazon, a small SharkOne of the Most Famous its:Reina Pepiada (roughly translated to Voluptuous Queen): its a Chicken Salad with Mayonaisse and Avocado.Sifrina (Poshy): sames as Reina Pepiada but with Gouda Cheesethe only way you can TRULY ENJOY arepas is with Venezuelan Cheeses, hard to find in the States, like Hard Cheese (its a cheese practically exclusive for arepas) Telita Cheese and Guayanese Cheese (from the Venezuela Region of Guayana).i truly Hope you find these tips interesting 😀 love your Channel!you’ve inspired me to become a chef myself! cheers!
January 13, 2017
[…] Mastering The Arepa […]
March 25, 2017
I first had an arepa in Miani at a street fair a few years ago and quickly went back to the stand for more. So addictive and yummy. Since returning to Canada I wanted to be able to try and make them. Now with your recipe I am anxious to have some of my own. Thank you so much for the recipe. Quick question, do you have a print button for recipes, I didn’t see one?
April 5, 2018
[…] Mastering The Arepa […]
December 5, 2018
I had a question about the quantity of liquid. I used one cup of meal and 1.25 cups of milk (halved the recipe). It was so soupy, I added another cup of meal and it turned out perfect! I wish I had known, because I made twice as many as we needed. Still, they were delicious!
December 23, 2018
Glad they came out great in the end! Thank you for the comment, I appreciate it!
March 23, 2022
How long to cook on each sid?
August 18, 2022
Hi, looks like I’m on the late train here but I used the arepa machine and my arepas without cheese are crispy outside but doughy in the middle. I cooked them on high for 14 minutes. Do I need to cook longer or are arepas naturally doughy in the middle?
February 21, 2023
I made my first arepas a few days ago and i made them about 5”-6” in diameter. I think they were too large because it was next to impossible to separate them, and stuff them. I think if I made them about 3.5” round then they would have been thicker, thus easier to separate.
What temperature of milk or water is best? The recipe I used asked for “lukewarm” water but that is unscientific; a temperature would have been easier.
I read one recipe that called for a mixture of the white/yellow masarepa flour, but I couldnt find that and used the white PAN flour. Domtou have any experience with using a combination?